
For the inaugural restoration-related post of our blog, we figured that we would catch everyone up on what has happened with #4 over the last decade.
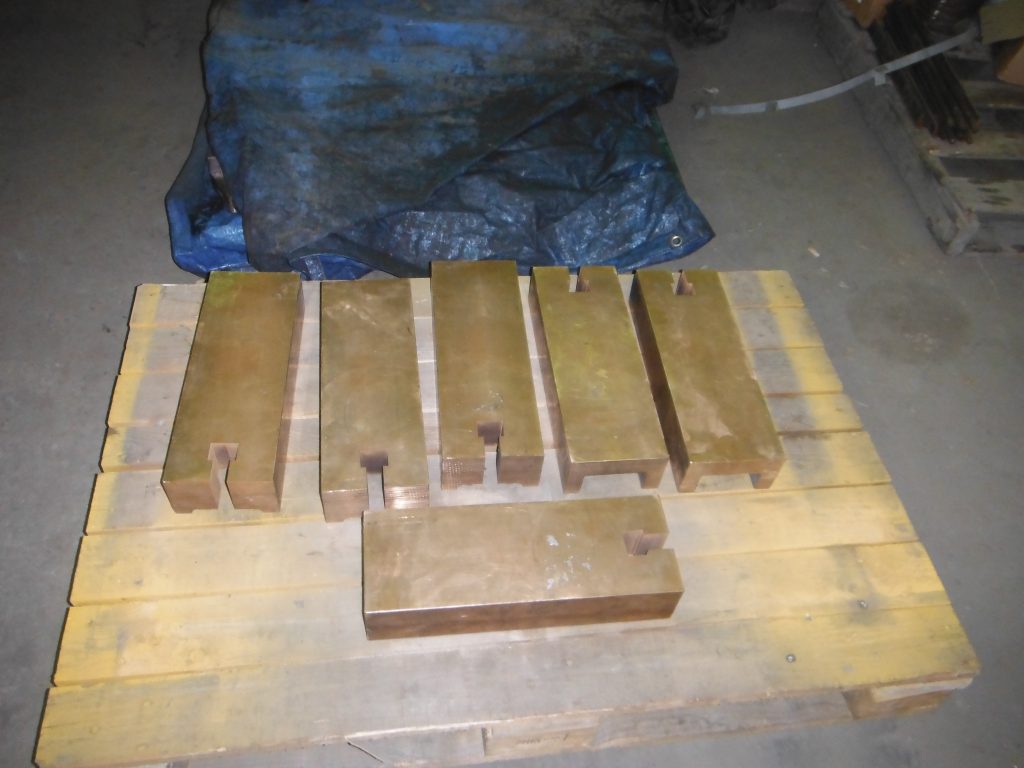
Frame pedestals
Measurement of the frame’s pedestals determined that they needed some cleanup. In order to do this, we rented a small portable mill and mounted it on the frame. The pedestal liners have been cast, received, machined, and test-fitted.
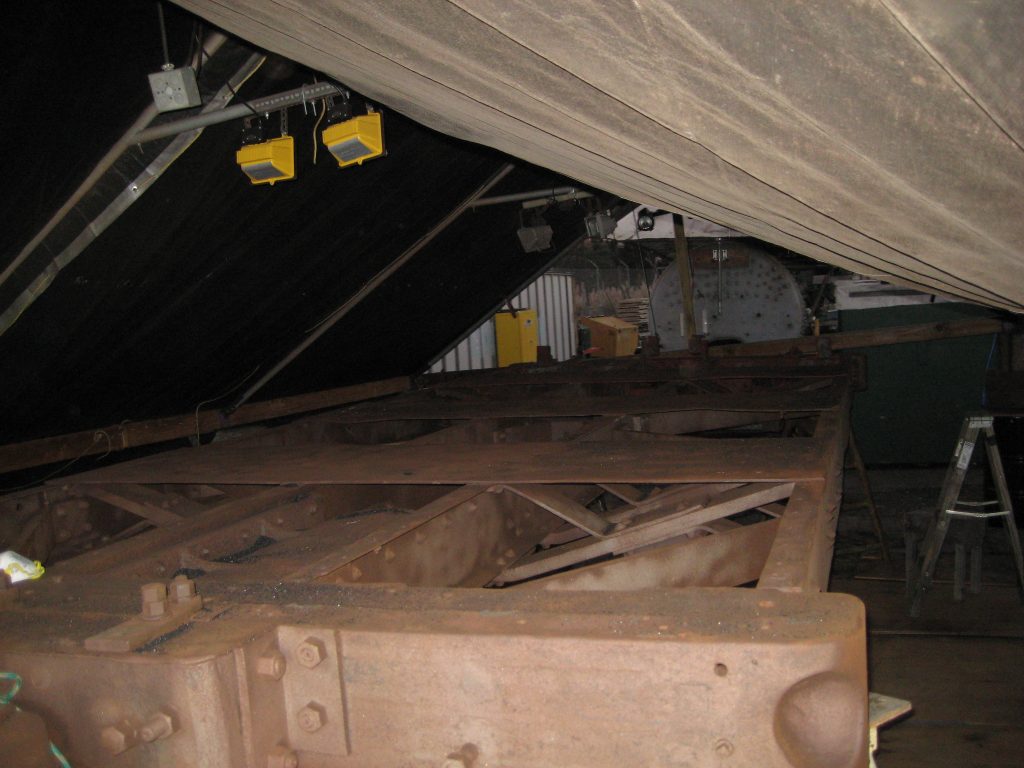
Tender frame
The tender frame was sandblasted and given a coat of paint in summer of 2013. This was a massive undertaking due to the outdoor environment; we needed to build a tent around the whole thing to contain the blasting media, and getting the whole thing blasted took days.
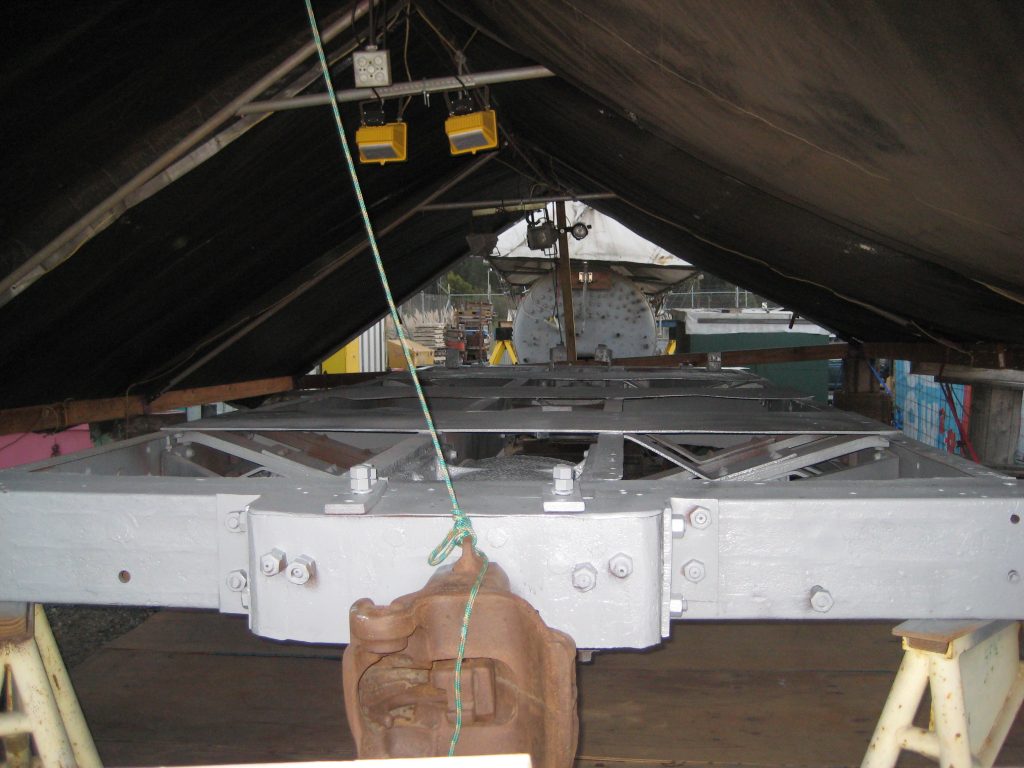

We also laid a section of track underneath it in preparation for putting it back on wheels. Due to a cracked leaf spring on one of the original trucks, we decided to temporarily use a more modern salvaged pair until we could furnish a replacement spring. Unfortunately, they just wouldn’t fit underneath, so the tender frame is still without wheels.
Tender water tank
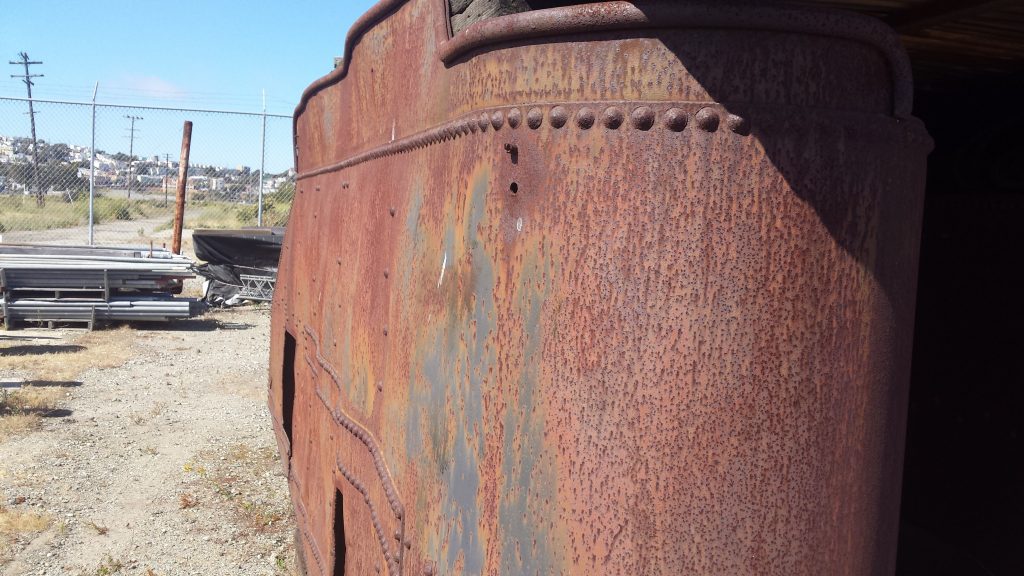
Decades of corrosion (and a few hours of fire) back in the scrapyard REALLY did a number on the water tank, and our first question was how much of it is salvageable. As it turns out, not much.
Inspection revealed that most of the framework is corroded beyond belief. The side sheets are toast, and the bottom sheet has rotted through in several places. The top sheet, external features, and maybe some internal braces will be reusable, but other than that, we effectively need a whole new tank. Needless to say, replacing 80% of the tank is an expensive undertaking which we don’t have the tools to do, so this sub-project quickly fell on the backburner.
Cab floor and running boards
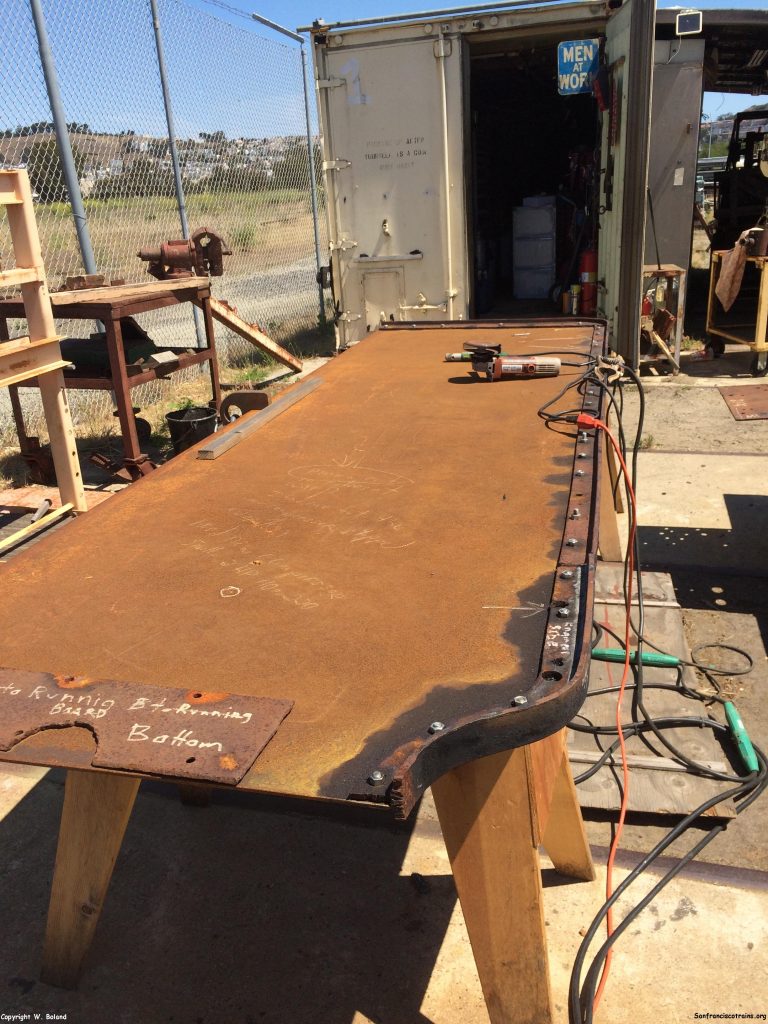
The running boards were hit pretty hard as well… and evidently weren’t in great shape before the scrapyard either, because someone at some point plated over the old, rotting sheet metal with another sheet. A quick and economical fix, but all this did in the long term was provide more spots for water to be trapped and accelerate the corrosion. The plates were in roughly the same condition as the bottom sheet of the tender tank – ferrous swiss cheese that was as much rust as it was metal. Luckily, the T-irons forming the edges of the boards were in good enough shape to salvage.
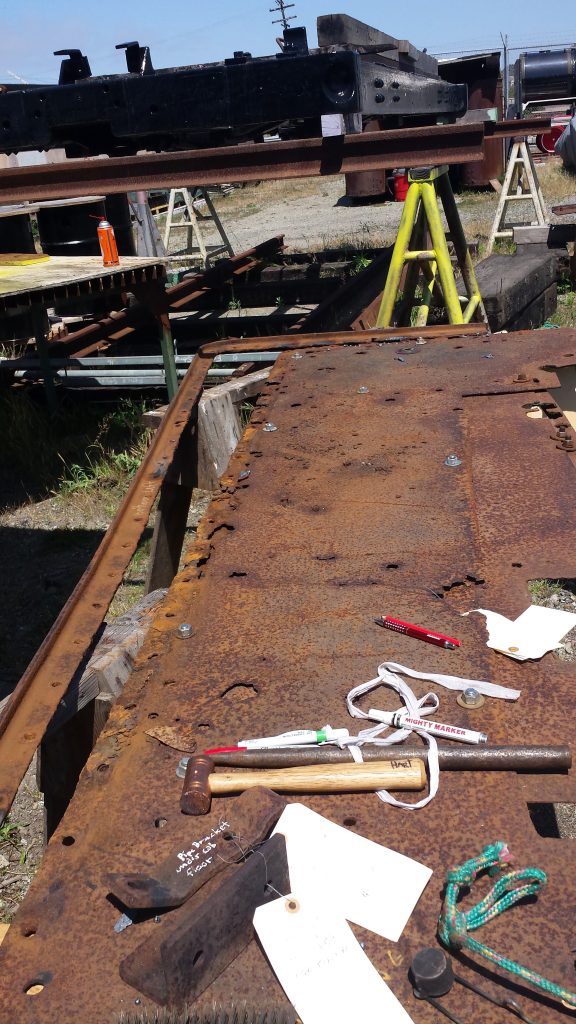
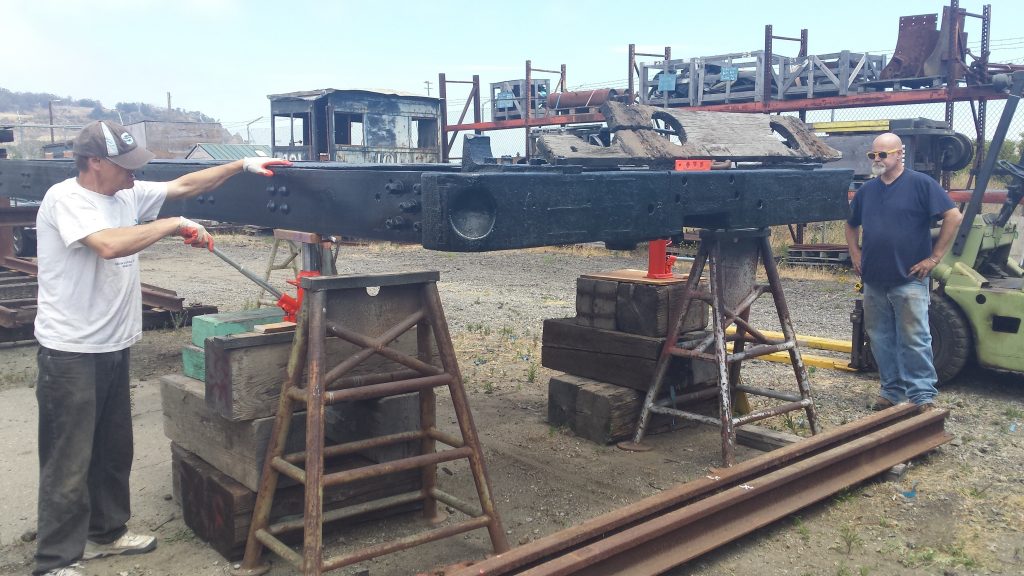
Unlike the tender tank, the running board plates were small enough to do on our own and didn’t require any metal bends or watertight joints, so we ordered new 1/4″ thick steel plates and trimmed them to shape with angle grinders. The T-irons from the old floor were clamped into place, transfer punches were used to locate the holes, and a magnetic base drill press made drilling quick and easy.
The T-irons had been cut with a torch many years prior in order to make the boards more transportable, and while this wasn’t structurally a big deal (the plates are the real load-bearing components), the ragged surface left behind on either end of the cut made aligning them with each other somewhat difficult. In addition, the scrapyard fire warped them slightly. We decided to do a test-fit to the boiler (which they’re mounted to through several brackets) to see if they were aligned correctly. In any case, there were some holes for plumbing that could only be reliably put in with it up against the boiler. This sub-project was put on hold in 2015 when we realized we couldn’t do that without replacing the boiler studs. Speaking of that…
Boiler
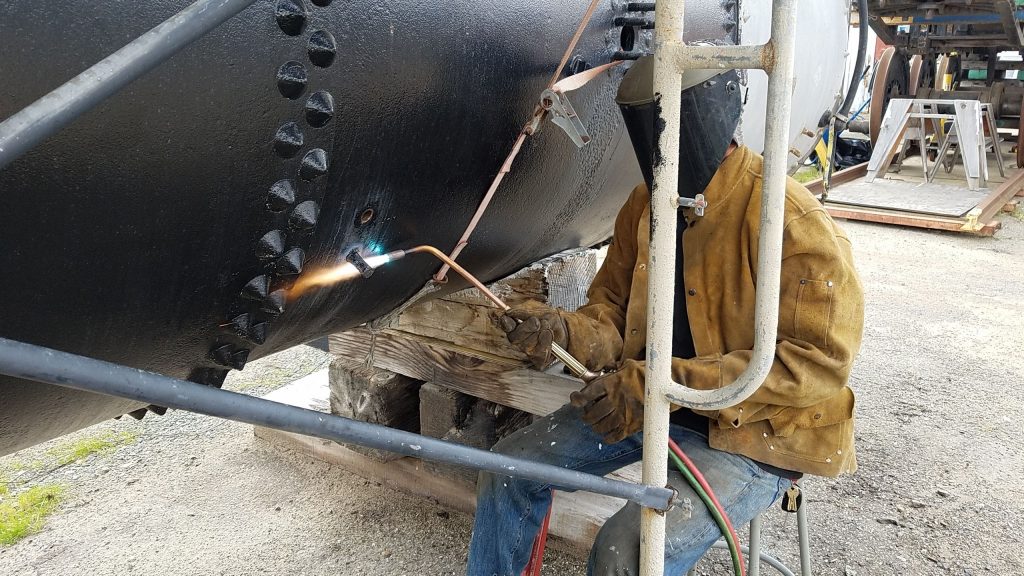
We’ve known that the boiler studs need replacement for a while (the threads on the outside have almost completely rotted away), but we were hoping to leave boiler work to the very end because of the mandatory inspection schedule it needs to go through anyways. The running board sub-project called for a test fit, however, so we set about unscrewing them for removal and replacement. Easier said than done.
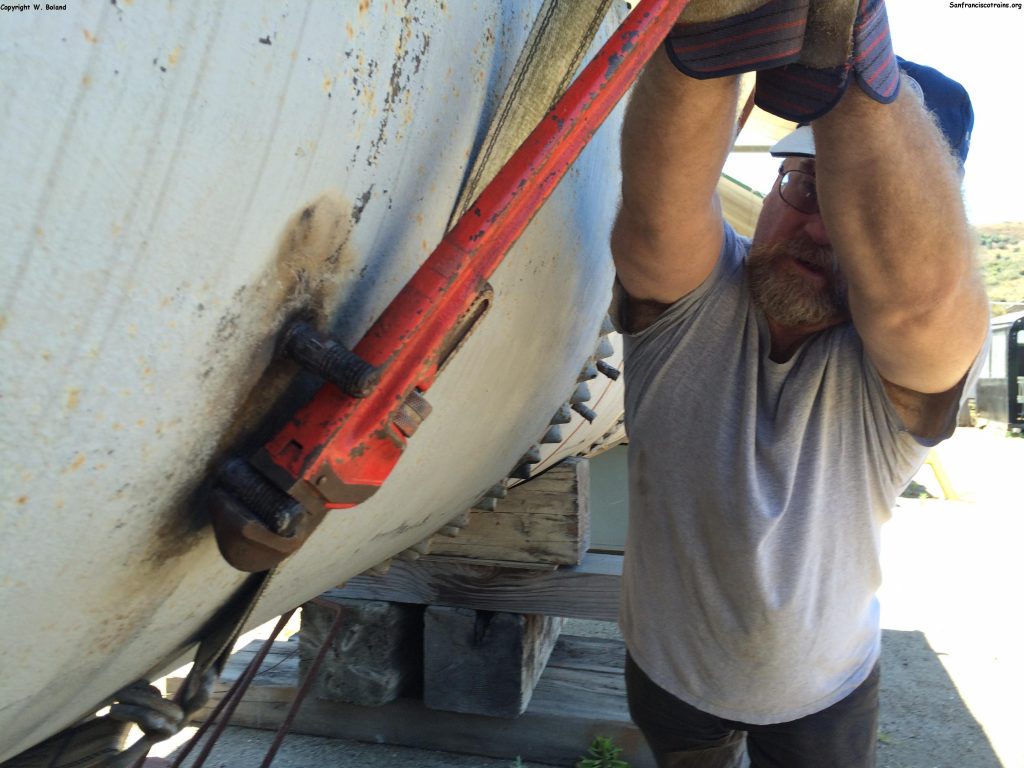
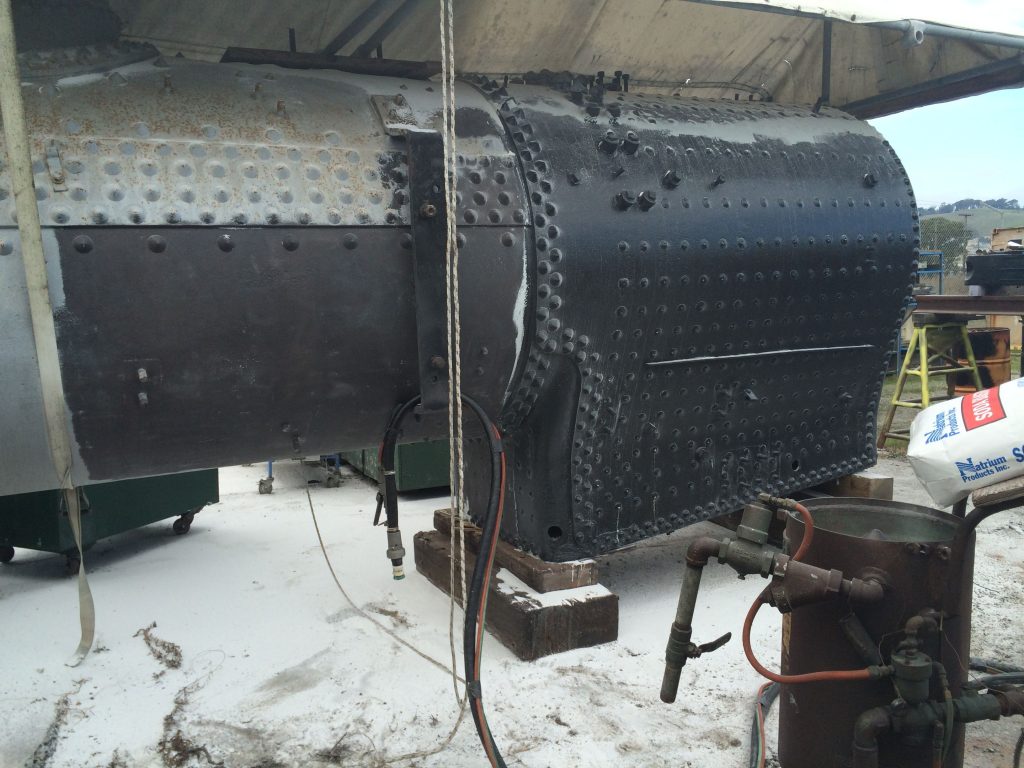
Most of them are stuck in there with more torque than they’re capable of transmitting, as we discovered when several of them sheared in two. So now we have several half-studs stuck in there which will need to be drilled out. Our focus turned to the boiler itself when we discovered that the high-temperature paint coating it received a decade prior didn’t actually cure properly, leaving the whole thing vulnerable to more corrosion. The failed coating was soda-blasted off (sandblasting could damage the boiler) and a new room-temperature coat of primer and paint were applied to hold it over until the high-temperature coat can be attempted again.
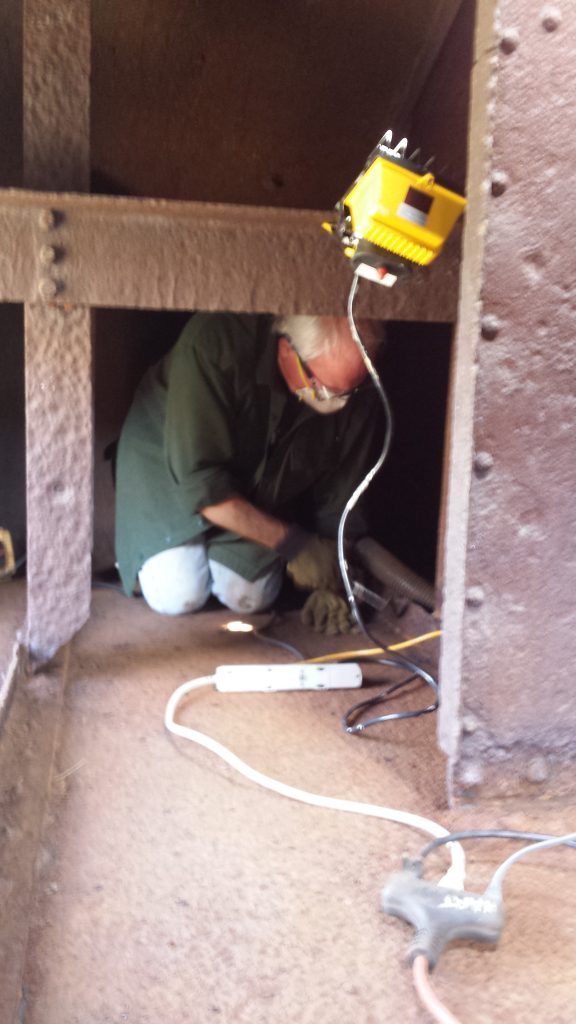
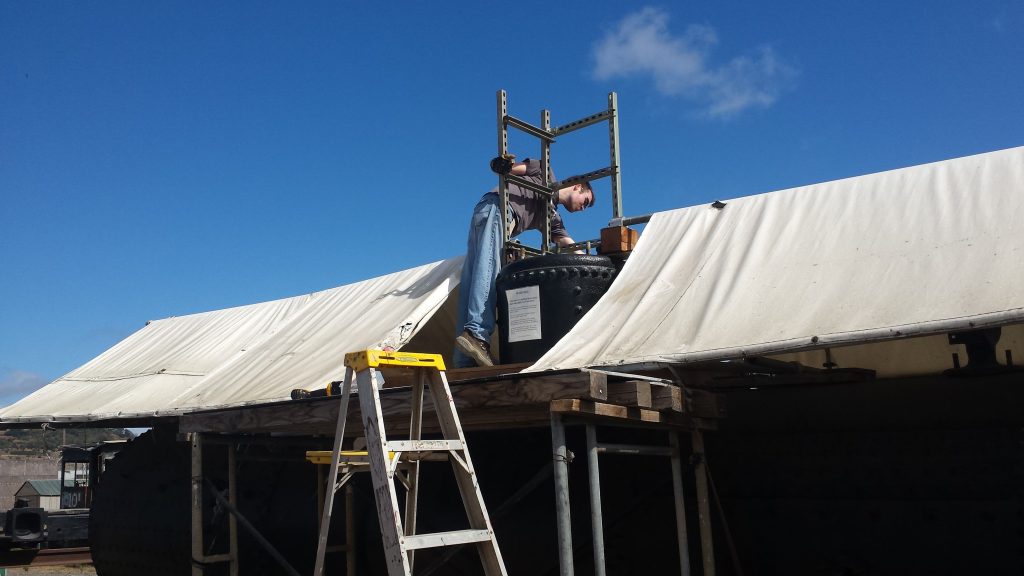
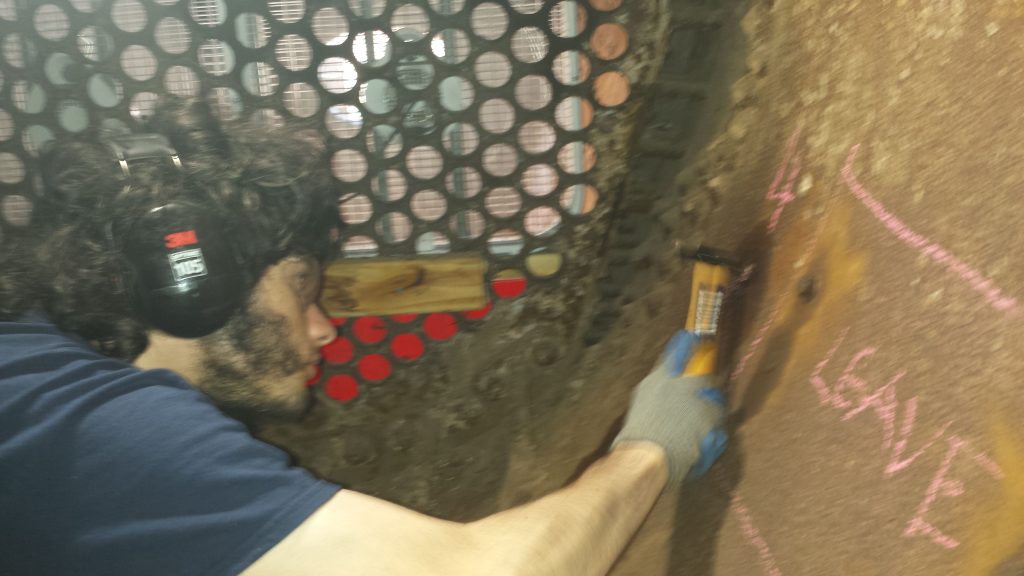
Turning our attention back to stud removal, we opened up the steam dome and installed a ladder so we could get inside the boiler shell and access the back ends of the studs.
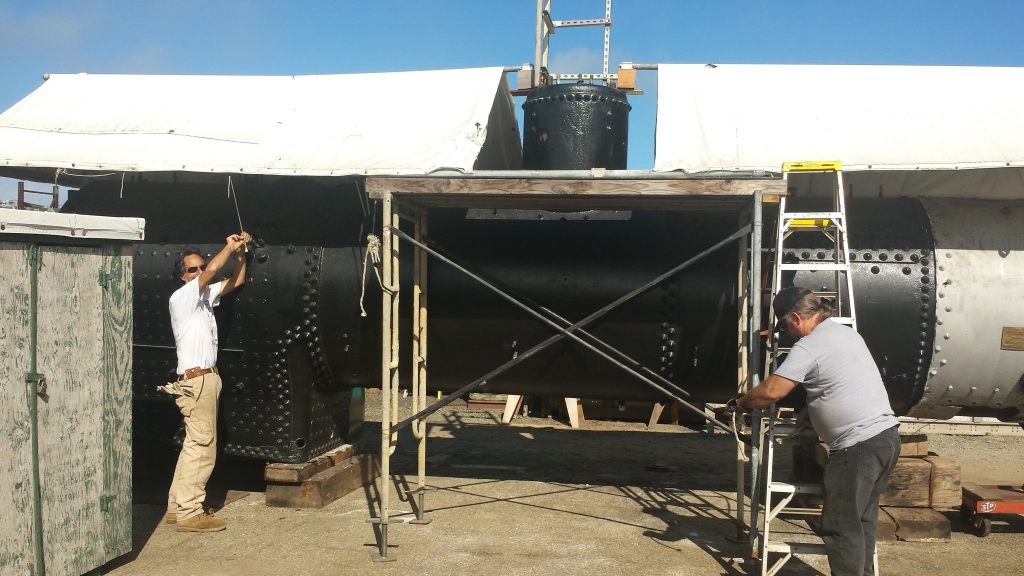
After knocking away the rust around the stud holes, a combination of heat on the outside and cryogenic oil on the inside (plus some rapid taps from a ball peen hammer) liberated a few more studs, although not all of them could be removed this way.
It certainly wasn’t going to work on the ones that had already snapped off – those still needed to be drilled out. To avoid cutting into the metal they were threaded into (an expensive-to-correct mistake when dealing with something that needs to hold steam under high pressures), the holes need to be drilled as concentric and as parallel to the studs as possible, so we made a jig that ensures the drill travels perpendicular to the inner boiler surface (i.e. parallel to the studs). We also used this opportunity to get rid of a lot of rust and scale (chalky impurities left behind when water evaporates) inside the boiler.
Drive boxes
The 6 drive boxes and the axle/wheel surfaces they bear on have to deal with every single force transmitted between the locomotive and the track (plus some forces between the locomotive and itself) and so were naturally in the worst condition out of all the running gear components as we received them. The axles were handled when #4 was back at Hunter’s Point, but the drive boxes still needed some heavy machining. These received sporadic attention in 2012-16 up at the former Southern Pacific Sacramento Shops (now operated by the California State Railroad Museum), but the remaining work is being handled “in-house” at a makeshift machine shop we made out of an old shipping container.
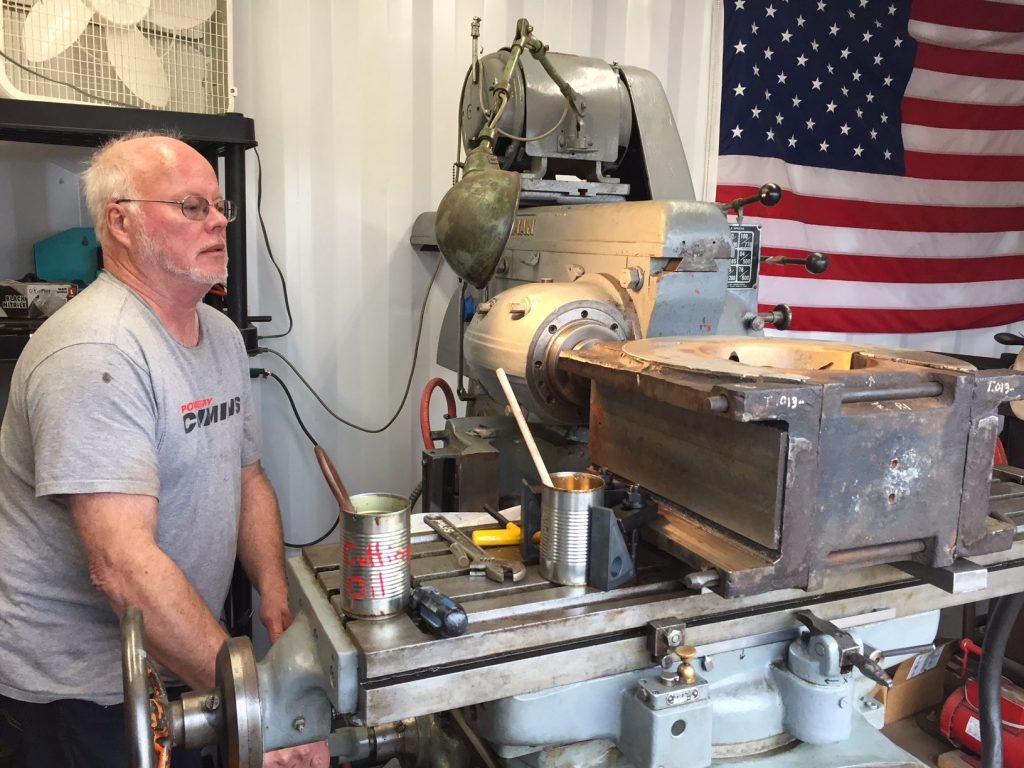
Due to the level of wear-and-tear in certain places, the drive boxes needed to be welded back up to a suitable thickness and then machined to final dimensions. This process has been completed for the “ears” that engage with the pedestals, the oil cellars, and one of the spring pockets (work on the remaining spring pockets will begin shortly). The babbitt metal bearing surfaces have also been renewed.
Riding out COVID
We would almost certainly have those drive boxes finished by now if it weren’t for COVID. The Pandemic was a massive obstacle to restoration work and a general demoralizing factor as well. Some of us (such as this post’s author) had other obligations during this time which severely limited availability, pandemic or not. Work on the locomotive itself slowed to a crawl in early 2020 and has only recently (May 19th, 2023) picked back up.
What comes next (and what you can do to help)
Getting the drive boxes machined remains our primary focus. Once those are done, they can be fitted to the axle journals and the frame can be lowered down onto the drivers, after which a good chunk of the locomotive will (hopefully) go back together much quicker.
The drive boxes require a fairly specialized type of labor, but there are no shortage of tasks which the average volunteer can help with:
- The ’22-’23 Bomb Cyclone ripped up the tarp canopies over the boiler and frame, which are now more vulnerable to the elements, so the tarps need to be replaced. We have the materials but need the labor. Also, if anyone has any better* ideas of how to keep these things out of the weather, we’re all ears.
- The elements which the boiler and frame were exposed to during the Bomb Cyclone were also harsher. Some surface rust needs to be dealt with.
- The locomotive running gear (rods, valve motion, etc.) will need some cleaning up in preparation for fitting them once the drive boxes are done.
- We still need to get those snapped boiler studs drilled out. This one requires a lot of precision and dexterity with power tools (plus nerves of steel and the ability to work in a confined space), but doesn’t require any special knowledge. Replacing them is another story…
- In general, site maintenance is an ongoing task. It’s the Wild West of Weeds out here and they never stop coming! The sooner the better, with fire season and all that.
*Moving them “indoors” isn’t currently an option because we don’t have an “indoors” big enough to move them into. If we did, we wouldn’t be having this problem in the first place!
In addition, hardware/material/monetary donations can be used to move some of the stalled out sub-projects forward. Some of these things are BIG items, but we figured it was worth at least asking.
- Tender water tank: If you’ve read the section for this above, you’ll know what this needs. If you somehow found yourself here without reading the rest of the post: everything except for the top sheet. Due to the curved sheet metal and braces on the water legs, we won’t be able to do this in-house and will need to pay for the fabrication as well as the materials.
- Boiler: The running board test-fit requires the boiler studs to be replaced with new ones. The good news is that the boiler-facing threads are standardized for all pressure vessels… but the bad news is that said threads are tapered (3/4 inches per 1 foot, or 1:16). We have a lathe with a taper attachment which would allow us to make these parts in-house; all that is required is the round stock to make them from. We are told that the grade of steel must meet ASTM A307 standards in order to be up-to-code.
If you’re interested in helping out, see our “how to help” page to get started.